|
|
| 1 |
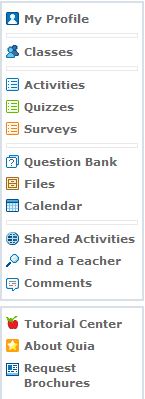
Choose Quizzes from Navigation Panel |
| |
 |
| 2 |
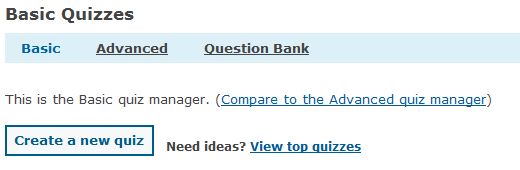
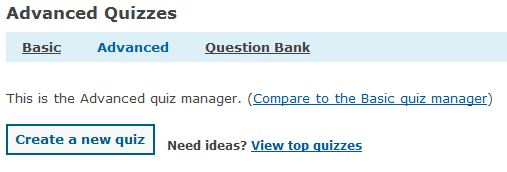
Choose the "Advanced" link |
| |
 |
| 3 |
Click the "Create a new quiz" button |
| |
 |
| 4 |
click here to view the video of the create a new quiz process (steps listed below) |
| 5 |
Section 1: Title and Description |
| |
 |
| |
Title - the name of your quiz - this is what students will see |
| |
Description - this section allows you to provide written instruction to students relating to the quiz |
| 6 |
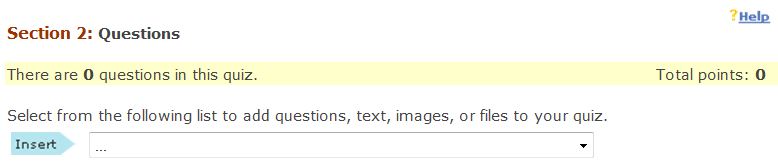
Section 2: Questions |
| |
 |
| |
Clicking the "Help" link in the upper right of the section provides the following instructions: |
| |
In Section 2, you design the layout for your quiz page, including which questions or kinds of questions you want to include and any necessary text, images, audio, or files. To complete this section, follow these steps:
- In the Insert drop-down list, select the first component you want your quiz to include. You can select any of the following:
- One or more new questions
The advanced editor gives you a choice of fourteen question types, instead of the ten you are limited to in the basic editor. The four additional types are ungraded survey questionswhich you can use to collect opinions and demographic information. The results are included in reports and export files, where you can analyze students' performance based on these variables.
Select the number of questions you want to add, and the question type, and click Add.
Note: To add various question types, you need to enter them separately.
For information on creating a new question, click the help link for the question.
To delete this component, click Remove.
- One or more specific questions (from the Question Bank)
Your quiz can include questions that already exist in the Question Bank. In other words, you can reuse any question from any of your quizzes.
After you've chosen the questions you want to use, the system displays them in the advanced editor. Use the up and down arrows to reposition a question. You can also change the value in the Points field to override the default point value.
To delete this component, click Remove.
- One or more randomly selected questions (from the Question Bank)
Select this component to add a random block of questions.
You must enter the number of questions in the block, the question label, if applicable, and the question type, if applicable.
For example, you may have a 20-question quiz that you want to include five questions on Chapter 7 of your textbook, in multiple choice format. You already have a variety of questions in your Question Bank labeled by chapter. In this scenario, you would enter 5 for the number of questions, Chapter 7 for the label, and select multiple choice for the question type. When your students take this quiz, each will see a different set of multiple choice questions from Chapter 7.
After you enter your criteria, use the up and down arrows to reposition the random block within your quiz. You can also edit the default value in the Points field.
To delete this component, click Remove.
Choose this component to add a block of text, HTML, or LaTeX to your quiz. This component is ideal for adding text that applies to several questions at once, such as a reading passage.
Use the up and down arrows to reposition the text.
To delete this component, click Remove.
Select this component to add an image to your quiz. The system prompts you to select from images that you previously uploaded. If you have not uploaded your image yet, you must do so in the File Manager.
To delete this component, click Remove.
Select this component to add an audio clip to your quiz. The system prompts you to select from files that you previously uploaded. If you have not uploaded your file yet, you must do so in the File Manager.
To delete this component, click Remove.
Select this component to add a file to your quiz, such as a Microsoft Word document, an MPEG video clip, an Excel spreadsheet, or a PowerPoint presentation. The system prompts you to select from files that you previously uploaded. If you have not uploaded your file yet, you must do so in the File Manager.
To delete this component, click Remove.
- Once you have added a component to your quiz, the system displays a new Insert list below the item. Using this new field, repeat step 1 as many times as necessary to complete this section.
|
| 7 |
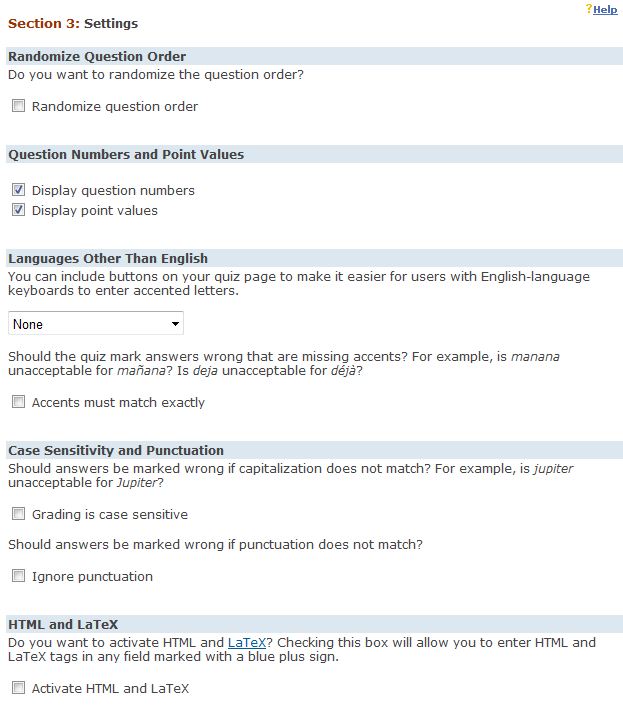
Section 3: Settings |
| |
Click the "Randomize question order" box to display the questions in random order for every quiz taker |
| |
Choose whether to display question numbers or point values (I don't display either) |
| |
If you are using a language other than English, select it here and decide if accents matter |
| |
Even though Quia is "case sensitive" you can change that setting here |
| |
however, this setting applies to the entire quiz |
| |
You can also decide if you want to ignore punctuation |
| |
however, this setting also applies to the entire quiz |
| |
Finally, if you are conversant with HTML, clicking this box will allow you to use HTML in your quiz |
| |
 |
| 8 |
Section 4: Identity |
| |
Decide if you want to include a link to your profile (I do not) |
| |
Decide if your profile page will link to the quiz (I don't do this either) |
| |
 |
| 9 |
Then either click "preview" or "done" |
| |
Clicking "preview" will show you a sample of what the quiz will contain |
| |
I usually skip this option |
| |
Click "done" when you are satisfied with the quiz |
| |
Click here to view a video of this process |
| |
 |
| |
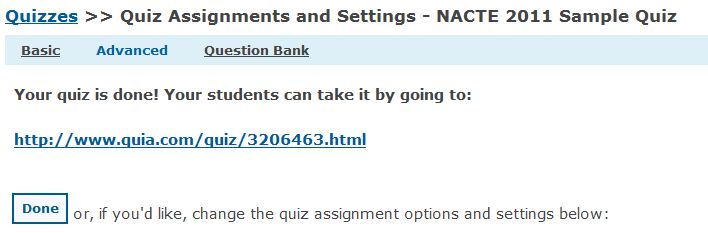
Notice the quiz is assigned a quia number for access to the quiz |
| |
This is the link you provide to the students to access the quiz |
| |
Prior to setting up classes, I would write the quiz number on the board |
| |
students would fill in the number in the link in the web browser |
| |
or from my online lesson plans |
| 10 |
This next part is where you make additional settings |
| |
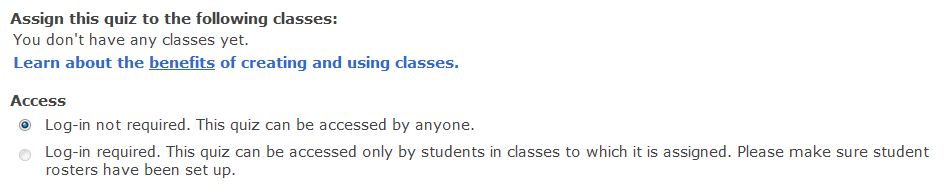
If you had classes set up, this is where you would assign the quiz to specific classes |
| |
 |
|
|
| 11 |
You can only choose this option if you have classes set up (we do not) |
| |
 |
| 12 |
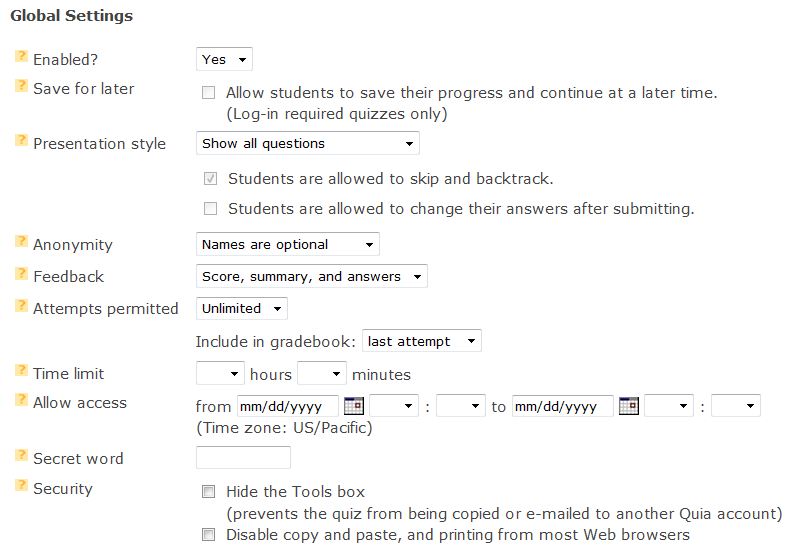
Global Settings |
| |
Enabled? Must be YES for students to take the quiz |
| |
Save for Later - check if students need to save their partial quiz for completion later |
| |
Presentation style - choose show all questions or show one question at a time |
| |
Try both ways - the type of quiz will determine how questions are shown |
| |
When choosing show one question at a time, you have two other options: |
| |
Checking "skip and backtrack" allows students to change answers prior to submitting the quiz |
| |
Checking "allowed to change answers after submitting" allows students to change answers after quiz has been submitted |
| |
This option is good for using a quiz to review |
| |
Anonymity - the best choice is "require student names" for every activity you create |
| |
it makes the students accountable |
| |
In the beginning, there may be students who are not entirely honest about their logins |
| |
however, in order to get a score, they must use their own name |
| |
or use someone else's name in the class |
| |
in the beginning (and/or when I think I need to) I make them leave the score on the screen |
| |
and record the results direclty from their computer screen |
|
Feedback (setting student view of quiz results) - 4 options |
| |
Score, summary, and answers - is best for using quizzes to study |
| |
Score and summary - I rarely use this option |
| |
Score only - this is my most used option - students appreciate immediate feedback |
| |
No feedback - use this option when you have manual grading to do for the quiz |
|
Attempts permitted |
| |
Unlimited |
| |
Choose a number from 1 to 10 tries |
| |
I choose unlimited - within the "time frame allowed for the quiz" |
| |
It takes away test anxiety and allows students to strive for the mastery score (100%) |
| |
It also teaches students perseverance (keep on trying until you get 100% or time runs out) |
| |
Include in gradebook |
| |
First attempt - important if you want to determine a "pre-knowledge" score |
| |
Last attempt - important if you want to determine if additional attempts change overall score |
| |
Best attempt - students like this one best - they can try again but won't lose their highest score if they bomb |
| |
Time Limit |
| |
you can provide an absolute time limit (say 30 minutes) for any quiz |
| |
the quiz is automatically submitted when the time limit has ended |
| |
Allow access |
| |
from (date/time) to (date/time) |
| |
in lieu of classes, this option allows you to set when anyone can access the quiz |
| |
remember, you set the quiz to require names to access the quiz |
| |
Secret Word |
| |
this allows you to further define when access is allowed |
| |
students will require a password to access the quiz |
| |
You can change the password between classes ;-) |
| |
Security - I usually check both options |
| |
Hide the Tools box (prevents quiz being copied or emailed) |
| |
Disable copy and paste, and printing from most web browsers |
| |
Remember that nothing is absolutely secure |
| |
There are ways around these settings; but, hopefully most students won't bother |
| |
especially if they are allowed multiple tries with only the highest score counting |
| 13 |
Click done |
| 14 |
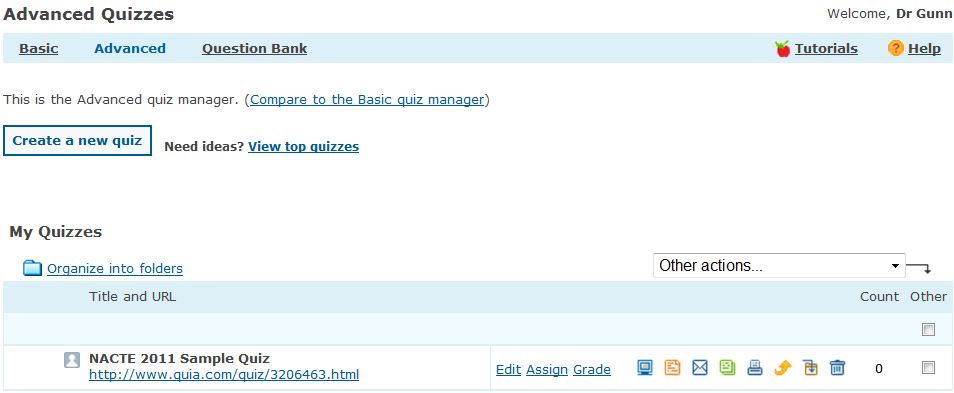
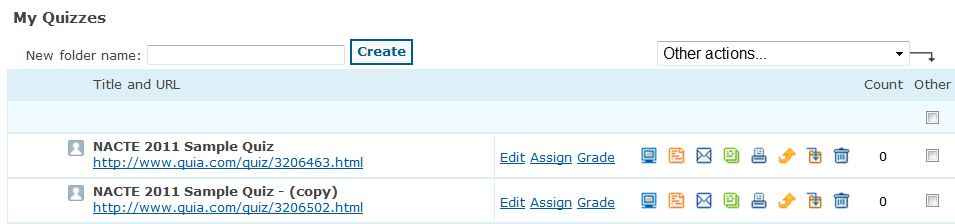
note the quiz is now listed under the "my quizzes" section of the quizzes page |
| |
 |
|
|
| |
Edit - allows you to revise/modify/edit an existing quiz |
| |
Assign - allows you to assign existing quizzes to classes (if you have them created) |
| |
Grade - allows you to view/revise student scores |
| |
 |
| |
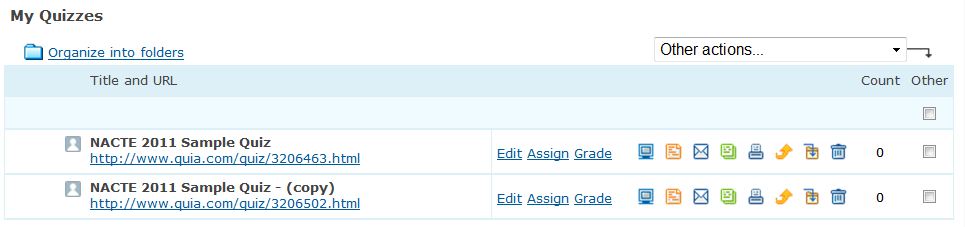
Quiz Options (in order as pictured above) |
| |
Preview - Reports - E-mail - Copy - Print - Export Results - Send Results to Archive - Delete Quiz |
|
|
| 1 |
In the "My Quizzes" section of the Quizzes link |
| 2 |
Choose the quiz you want to revise |
| 3 |
Click the "edit" link (see image above) |
| 4 |
Make revisions using the create quiz process |
| 5 |
Click "done" to save revisions |
|
|
| 1 |
In the "My Quizzes" section of the Quizzes link |
| 2 |
Choose the quiz you want to copy |
| 3 |
Click the "copy" button (see Quiz Options above) |
| 4 |
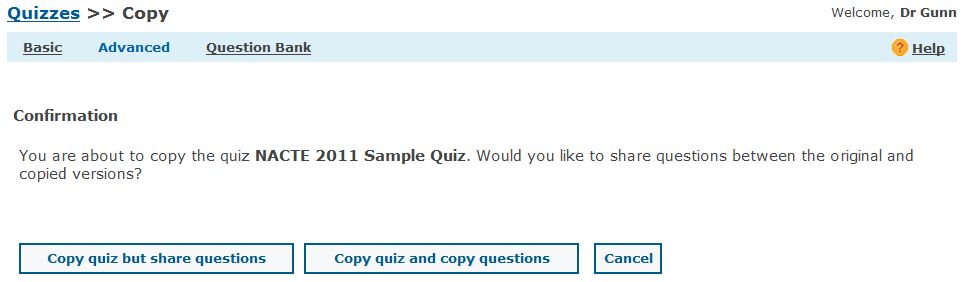
You can share the questions of the quiz you are copying between the original and copied versions of the quiz, or you can manage them separately. |
| |
 |
| |
Copy quiz but share questions
Quia creates a new quiz and stores one instance of each question in the Question bank. When you go to the Question bank, Quia shows that these questions are used in both copies of the quiz. If you edit a question, Quia changes it in both versions of the quiz. |
| |
Copy quiz and copy questions
Quia creates a new quiz and stores two instances of each question in the Question bank. When you go to the Question bank, you will see that one instance of the question is associated with the original quiz and the other is associated with the copy. If you edit a question, Quia only changes it in the version with which it is associated. |
| 5 |
Select quiz copy button (I usually copy but share questions) |
| |
 |
| 6 |
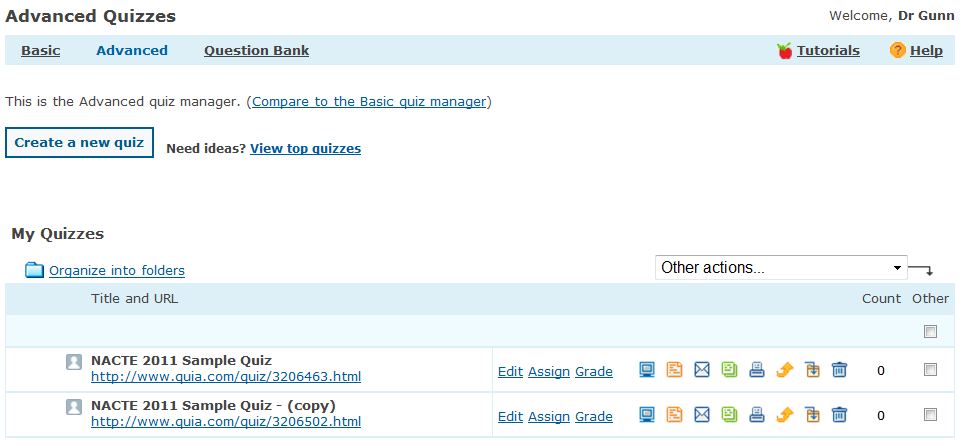
Now you can edit the copied quiz making changes as appropriate (including changing the quiz name) |
|
|
| |
 |
| 1 |
Choose "Organize into folders" link |
| |
 |
| 2 |
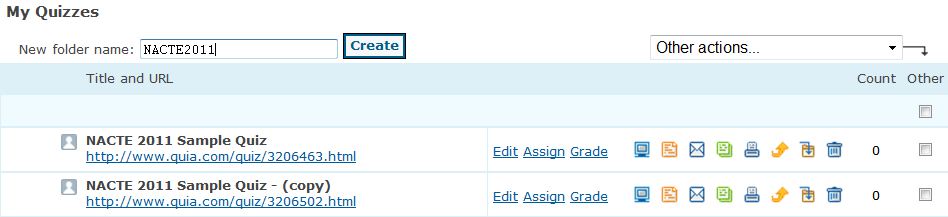
Provide a name for the new folder |
| |
 |
| 3 |
Click the "Create" button |
| |
 |
| 4 |
click here to view the video to select quizzes and move them to the new folder |
| 5 |
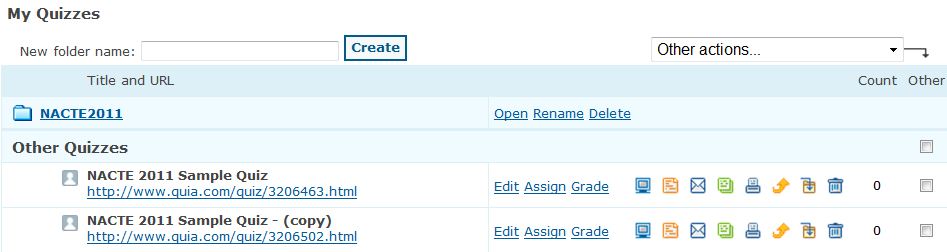
close the folder by clicking on the folder name |
| |
 |
| 6 |
Open the folder by clicking on the folder name |
| |
You are not limited as to the number of quizzes or folders you may have in an account |