|
|
| 1 |
Click on "quizzes" in the navigation panel |
| |
 |
| 2 |
Find the quiz (you may need to check within folders, if you created them) |
| |
 |
| |
Click on the "Grade" link |
|
|
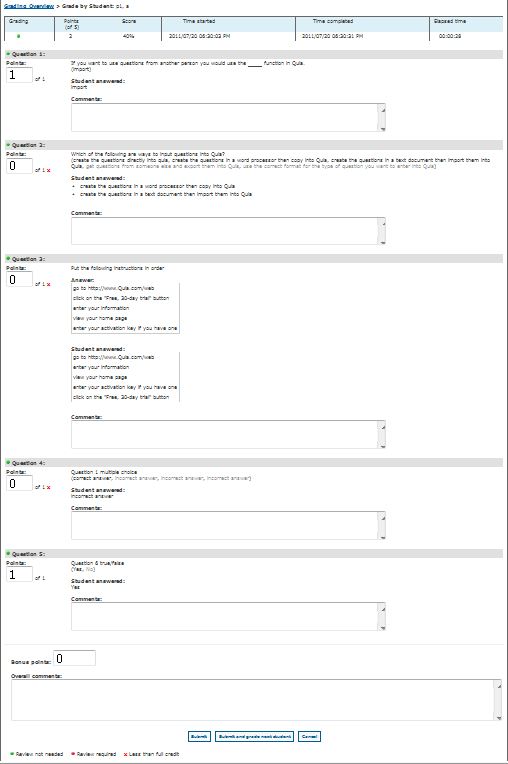
| 3 |
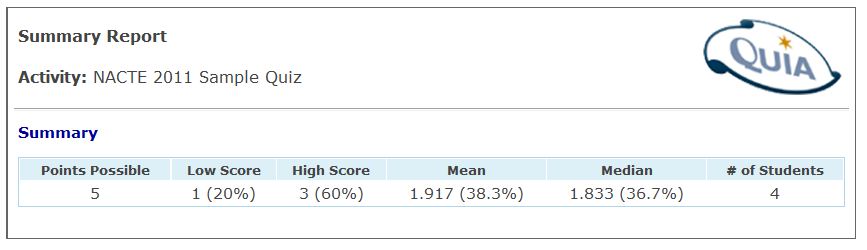
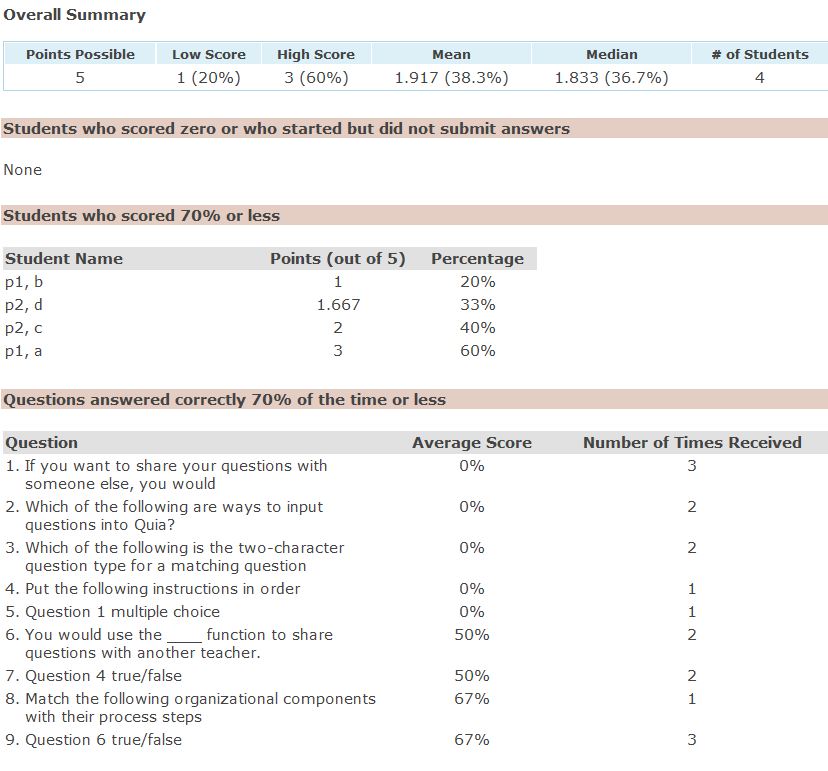
At the top of the screen is the overall summary |
| |
 |
|
|
| 4 |
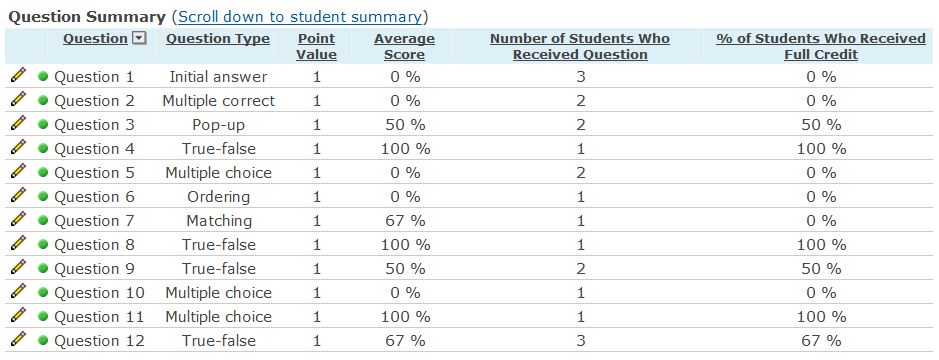
Review the question summary |
| |
 |
| 5 |
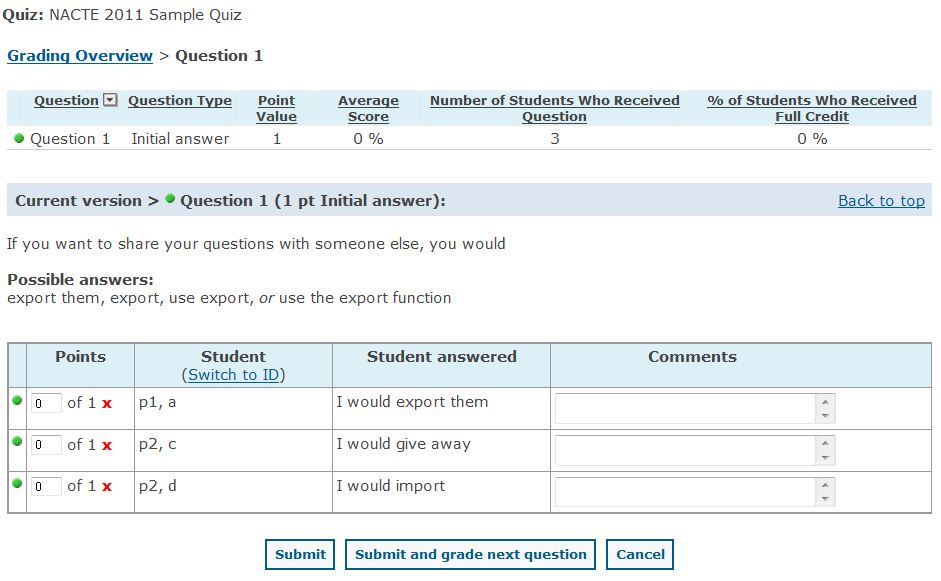
To review how students answered on a particular question, click on the pencil to the left of the question |
|
|
| |
 |
| 6 |
You can change scores here, just replace the zeroes with a score then click the "Submit" button |
| |
NOTE: even though each quiz only had X amount of questions
these questions were randomly drawn from a larger subset
the questions drawn from the subset are included in the summary
questions not drawn from the subset are not included in the summary until they are used |
| |
If you have a question you have decided is unusable
you can change student scores quickly using this feature |
|
|
| 7 |
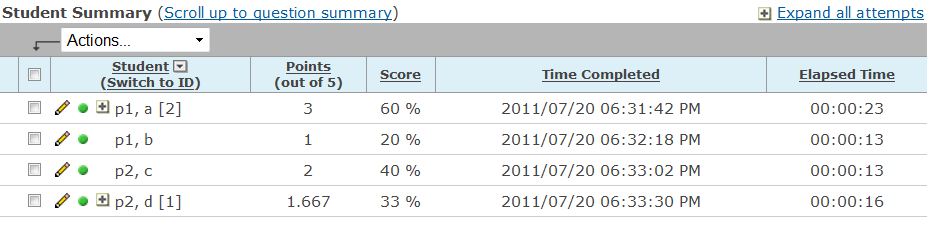
Review the student summary |
| |
 |
|
|
| 6 |
Expand the student summary to see all quiz attempts |
| |
 |
|
|
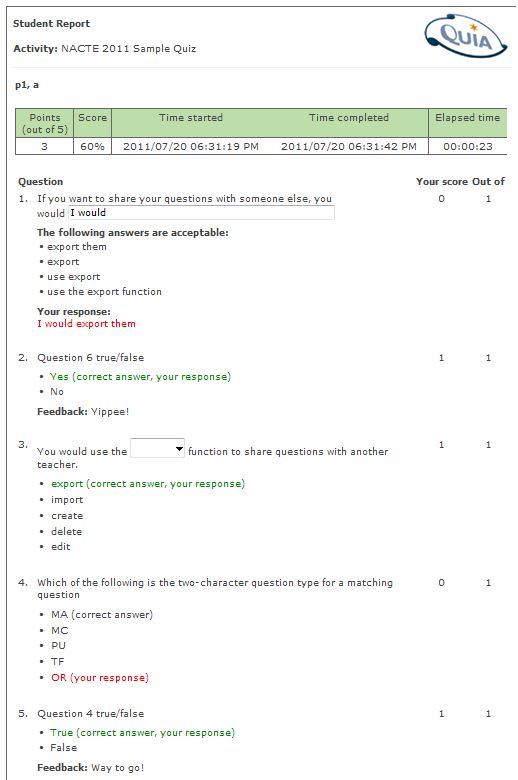
| 8 |
Click the pencil to the left of the student name to see that student's performance on that version of the quiz |
| |
 |
| |
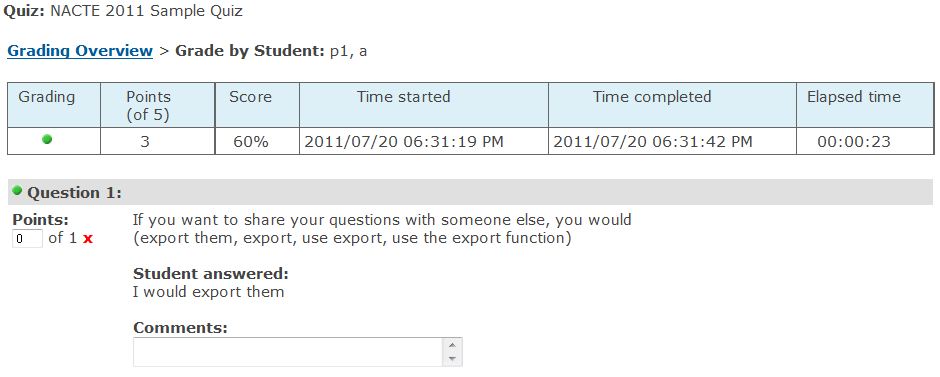 |
| 9 |
To change a score, put the new score in the points box that currently has a zero in it |
| |
You can also include comments in the comments text box |
| |
When finished, click the "submit" button unless you have more students you want to rescore |
| |
then click the "submit and grade next student" button |
|
|
| 1 |
Click on the "reports" link to the right just above the Overall Summary |
| |
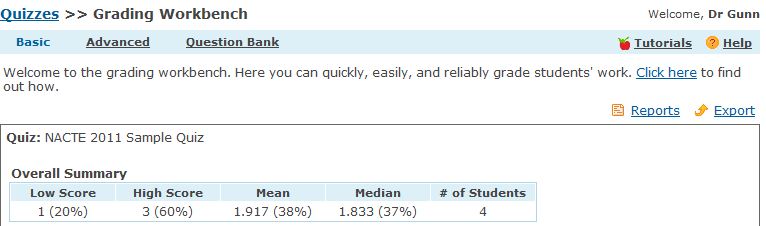 |
| 2 |
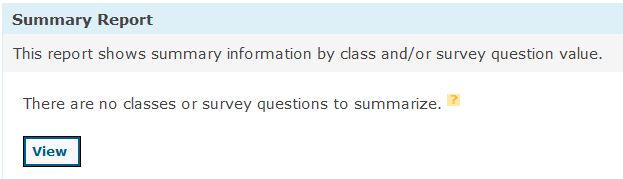
Select the desired report from the Report Dialog Box |
| 2 |
 |
|
|
| |
 |
| |
If you do not have classes set up or you are not using any survey questions |
| |
all this report does is repeat the Quiz Overall Summary |
| |
 |
|
|
| |
 |
| |
Outcome for "YES" |
| |
 |
| |
Outcome for NO |
| |
 |
|
|
| |
 |
| |
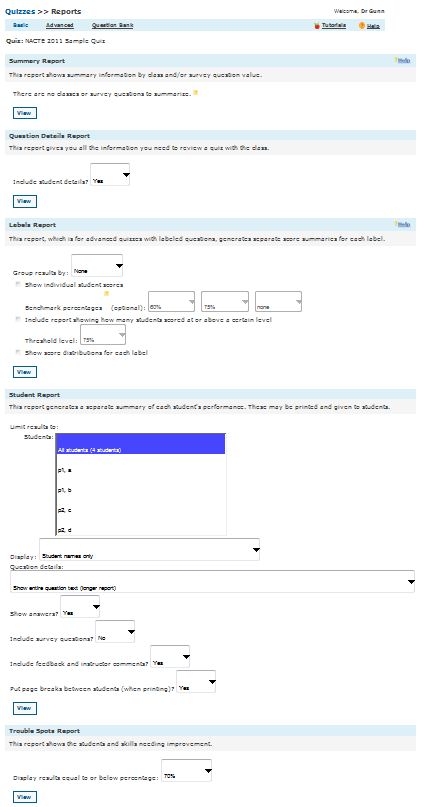
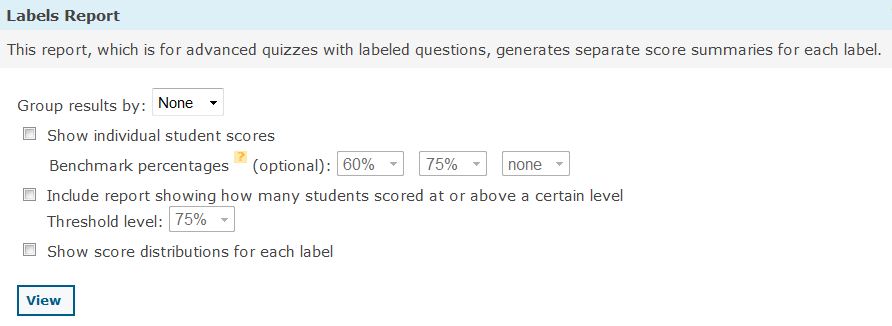
These reports display results by "Labels" meaning the different categories you used to develop the quiz |
| |
|
| |
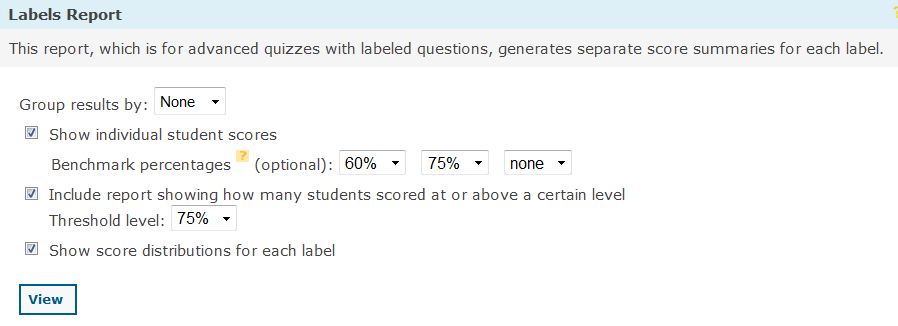
Choosing all the options: |
| |
 |
| |
Provides a report (only the overall summary is shown) |
| |
 |
| |
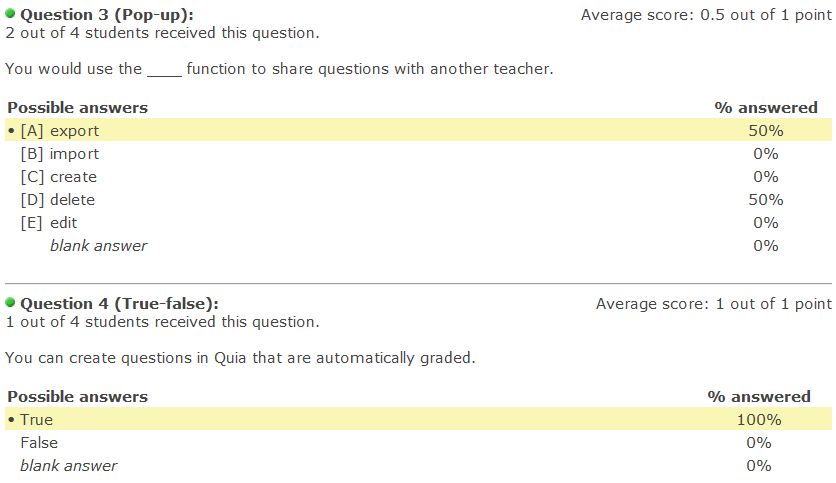
Detailed summaries for each Question Label are also provided |
|
|
| |
 |
| |
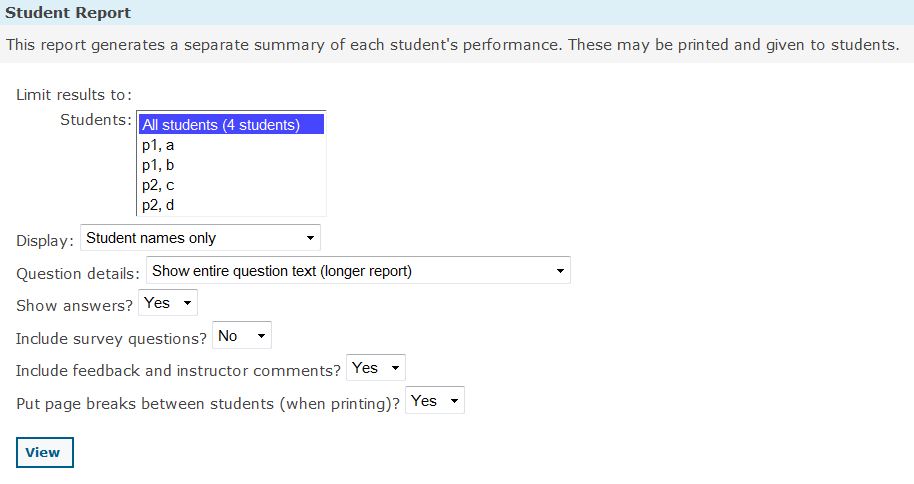
As you can see, there are a variety of options available |
| |
Choosing "YES" for putting page breaks allows you to print the entire report |
| |
starting a new page for each student without any other input from you |
| |
The following selections are my default choices for printing student quizzes: |
| |
 |
| |
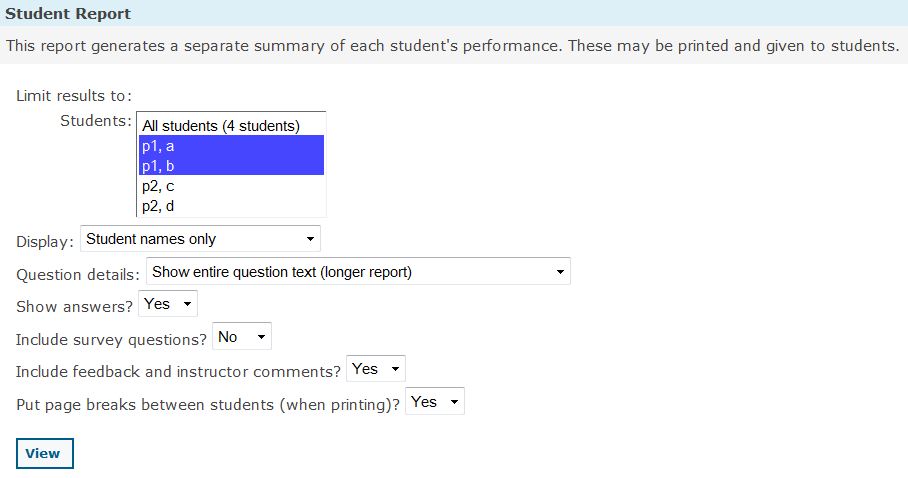
Like other aspects of the computer, you can "CTRL+click" to select multiple entries (such as students) |
| |
Here is an example of one student's quiz based on the above settings |
| |
 |
|
|
| |
 |
| |
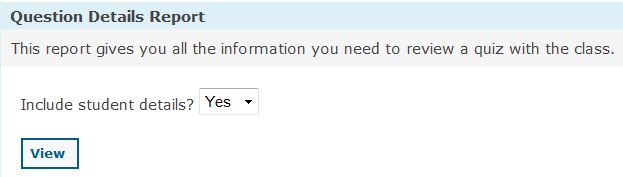
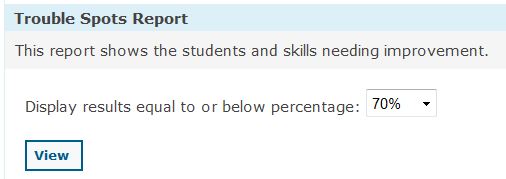
After changing the percentage, click the "View" button |
| |
 |
| |
|
| |
|